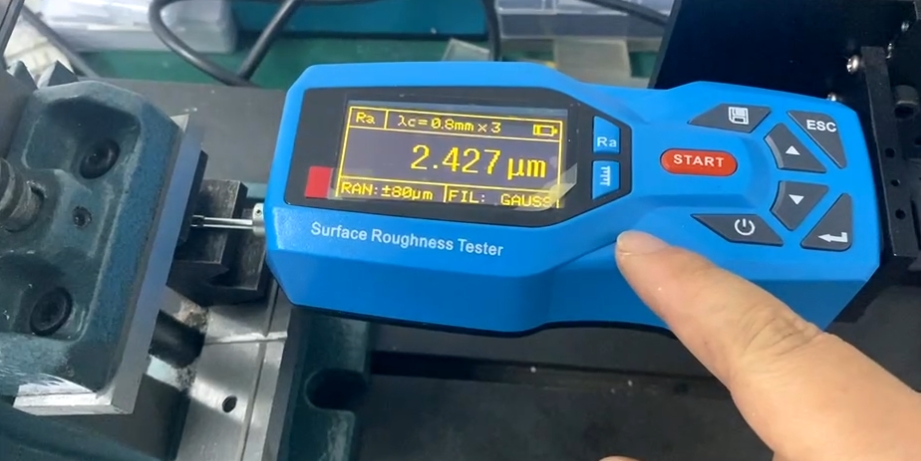
The surface roughness of slewing rings teeth after quenching is one of the key factors affecting their performance and service life. Generally, the roughness of hardened tooth surface should be controlled below Ra 3.2μm, and Ra 0.8μm or even lower may be required for high-precision applications. Proper roughness ensures smooth gear meshing, reduces frictional wear, and improves fatigue resistance.
If the roughness is too large, it will lead to contact stress concentration, accelerate pitting and spalling on the tooth surface, reduce transmission accuracy, and even cause early failure. In addition, too large a surface bump may affect the lubrication effect, exacerbating wear. However, the roughness is too small (such as excessive polishing) may also reduce the lubricant film retention capacity, but increase friction.
Therefore, if the product is applied to high-precision equipment, the roughness of the tooth surface needs to be optimized through grinding or lapping processes after quenching to ensure that it is within a reasonable range, so as to balance wear resistance, fatigue strength and lubrication performance, thereby enhancing the overall reliability and service life of the slewing bearing.
For engineering machinery and equipment, we strictly control the roughness at <Ra 2.5μm.


